

Guide to Connect Apache Tomcat with Eclipse for Java Web Development


Introduction
Apache Tomcat is an effective environment for executing Java-based web applications and it's also an open-source application server. On the other side, Java development is made easier with Eclipse, an integrated development environment (IDE). Building, testing, and deploying web applications is made easier by combining the features of Tomcat and Eclipse. To ensure a flawless Java web development experience, we will walk you through the process of connecting Apache Tomcat with Eclipse in this post.
Prerequisites: Download and Install Apache Tomcat
Get the Apache Tomcat version that is appropriate for your project and have it ready.
Get the Eclipse IDE bundle designed for Java EE developers.
Step 1: Configure the server in Eclipse
Open Eclipse IDE.
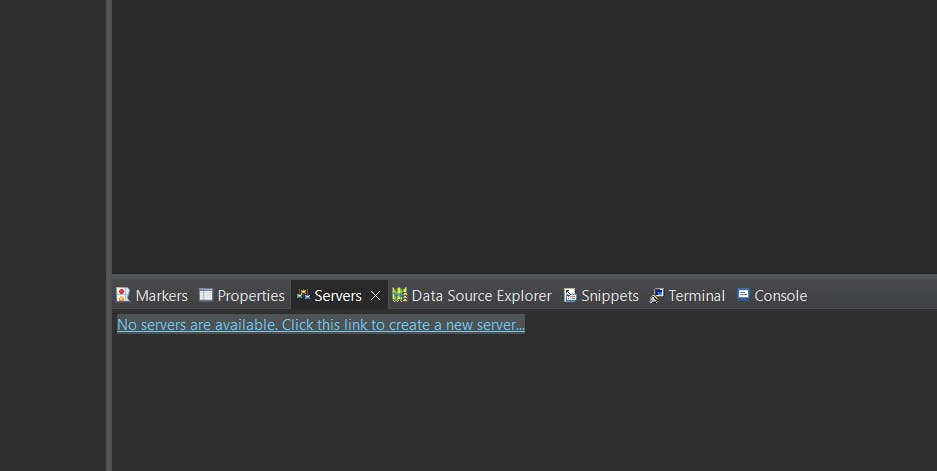
Navigate to the "Servers" tab at the bottom of the IDE. Click on the blue underlined test which says "No servers are available. Click this link to create a new server".
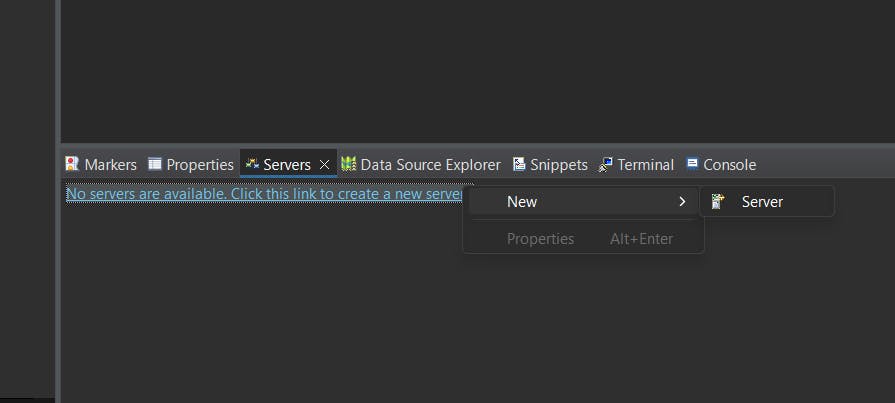
else, give it a right-click and select New -> server.
If you can't find it, you can open it by going to Window -> Show View > Servers.

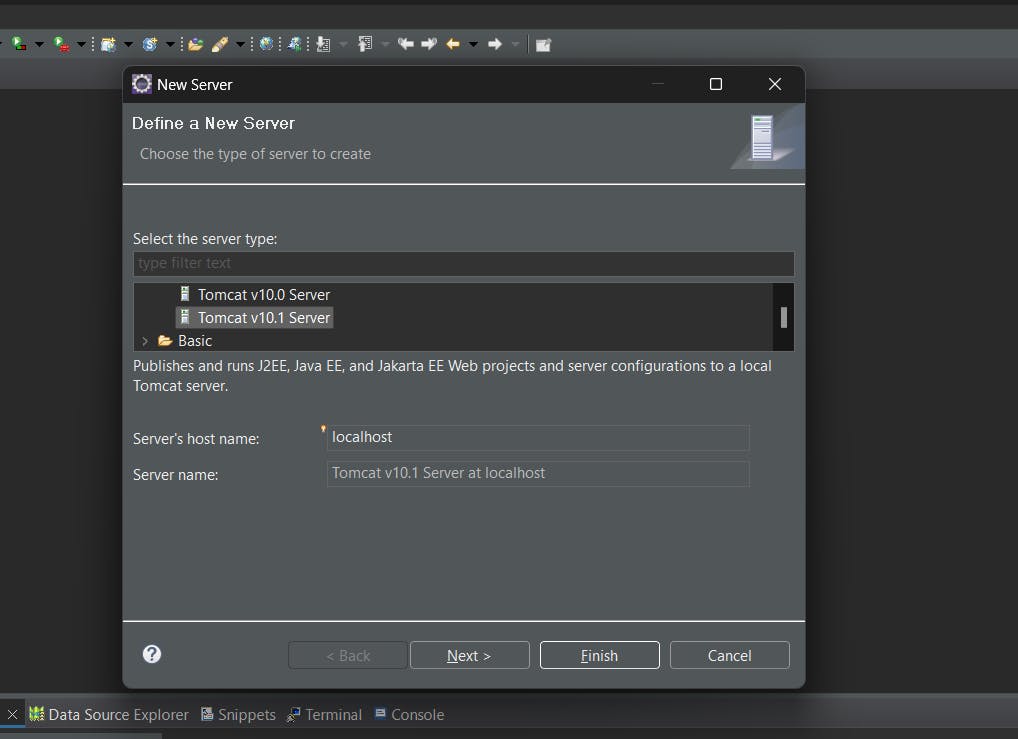
Step 2: Select Apache Tomcat Server
In the "Define a New Server" wizard, expand the "Apache" folder and select the version of Tomcat you have installed.
Click "Next."
Step 3: Set Tomcat Installation Directory
- in the new server window click "Browse" to find the path, then choose the folder where you installed Tomcat to specify the installation location for Tomcat.
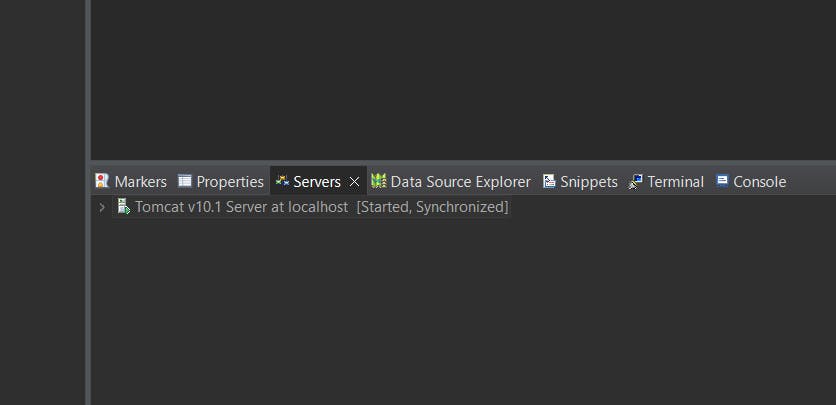
Click "Finish".

The server has been added to the IDE, as you can see.
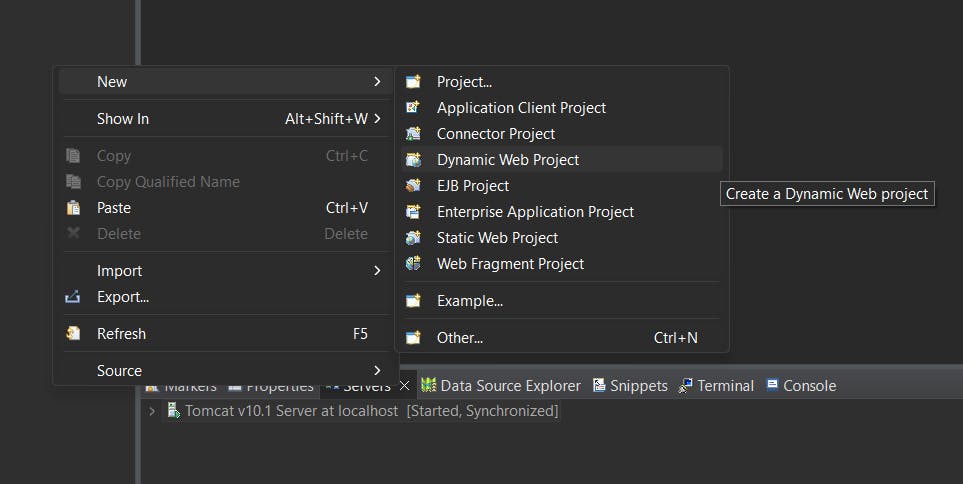
Step 4: Add a New Dynamic Web Project
In Eclipse, create a new Dynamic Web Project by going to "File" > "New" > "Dynamic Web Project."
Enter the project name and click "Next."
Choose the target runtime as the Apache Tomcat server you configured.
Click "Finish."
Step 5: Deploy and Run
- To run the web application, right-click on your project and choose "Run" -> "Run on Server."
Choose the configured Tomcat server and click "Finish."

Conclusion
Best wishes! For Java web development, you have successfully linked Eclipse and Apache Tomcat. The Eclipse IDE can now develop, test, and deploy web applications more quickly thanks to this integration. This configuration will prove to be important for a seamless and efficient development process as you proceed with your projects. Have fun coding!